Lash appointments can cost an arm and a leg and take time, even when they last a few weeks. But learning to do your lashes at home can reap many benefits: from saving time and money to having a clutch new skill up your sleeve!
Lashes at home, explained
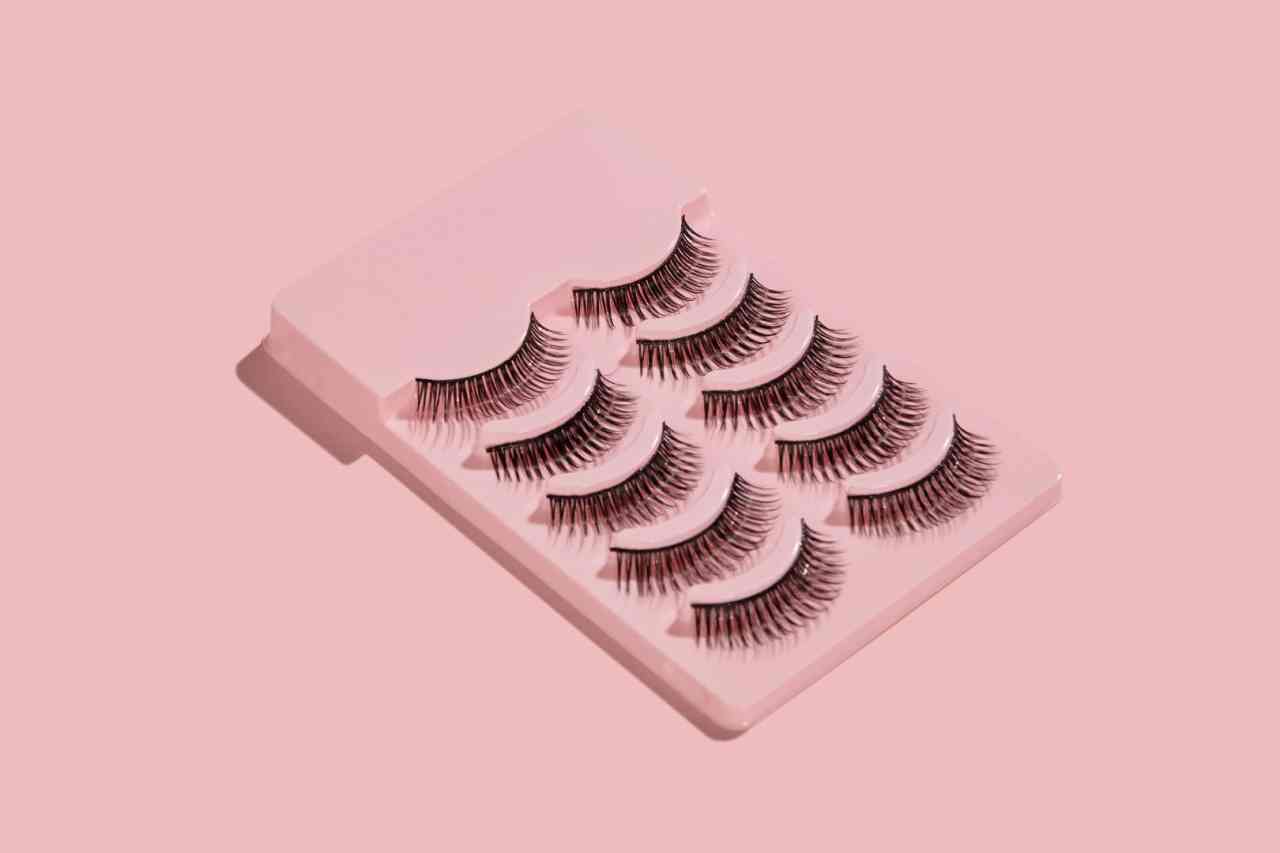
First, know that there are different kinds of lashes. Some come in wisps that you apply to build volume (called lash extensions), while others come as a full set, one for each eye (called false eyelashes). What you get really depends on you and the look you’re going for. For a more natural look, opt for lash extensions, and for a bolder ensemble, opt for false lashes. Inside your lash kit, you’ll find the adhesive and lashes. Sometimes, a primer could be included. You may want to use a pad under your eye to protect the skin, while eye tape keeps the bottom lashes down during application, so they don’t get stuck to your faux lashes. You’ll also need a pair of tweezers for precision in your application.
Prep your lashes
Before you apply the lashes, make-up artist Kirsten Murphy Rossiter advises applying your mascara. The same goes for curlers, too. “If you usually curl your lashes, do that before applying mascara,” she says.
Next, make sure you’re not allergic or will have a reaction to the lash adhesive, says Rossiter. “When preparing for false lash application, it’s important to make sure that you don’t have sensitivity to the adhesive,” she says. “Do a patch test around 24 hours before lash application by applying a few drops behind the ear.”
Next, follow the package instructions carefully, and watch where you should apply the lash – above or below your own. “False lashes should be applied just above your own lashes, as close to the lash line as possible,” explains Rossiter. “Once your eye makeup and mascara have been applied, apply a thin layer of lash adhesive to your false lash, allow it to get tacky for about a minute or two and then apply it just above your own lashes, as close to your lash line as possible.”
Taking care of your lashes
When you’re wearing faux lashes, the best practice is to keep your lashes as dry as possible for at least 48 hours after application. Water from swimming, the shower and sweat could erode the glue, as could oil-based cleansers and moisturisers, so keep these away from your lash area. When sleeping, you might find that silk pillowcases (heralded for their ability to keep skin and hair smooth) help. That’s because they don’t rub up against your lashes, causing friction which could dislodge them from your eyes.
Residue around the lash application area starts to build up after a few days, so brush the lashes (or use a special lash wash) to gently clean the area and keep them pretty. It’s important to keep the area clean since too much residue build-up opens the way to bacteria that could result in an infection.
Removing lashes
When it comes to taking off your lashes, be as gentle as possible. “At the end of the day gently pull your false lash off starting at the outer corner of your eye,” advises Rossiter. “Remove the glue from the lash by gently pulling it off or by using some eye makeup remover on a cotton pad to clean and prep them for reusing.” You can also use two earbuds (like chopsticks) and gently slide lash extensions from the lid.
Lashes we love:
Essence Lashes To Impress
These same-length extensions add volume to small lashes and are buildable for as much volume as you’d like.
R70 at Clicks
Eylure Lash Pro Individuals
Choose from various lengths to create voluminous or natural-looking lashes. Or, pick a new look every day!
R100 at Dis-Chem
Sorbet Lash Lift Eye Lashes
These feather-light lashes are dramatic but natural enough to fool everyone.
R70 at Clicks


